About Me

My photo
Thanks so much for visiting! This is where you'll see what I've been up to lately and snippets of who I am. I hope you stay a while and browse! Email me at photos.byLoria@yahoo.com for any questions!

Saturday, May 24, 2014

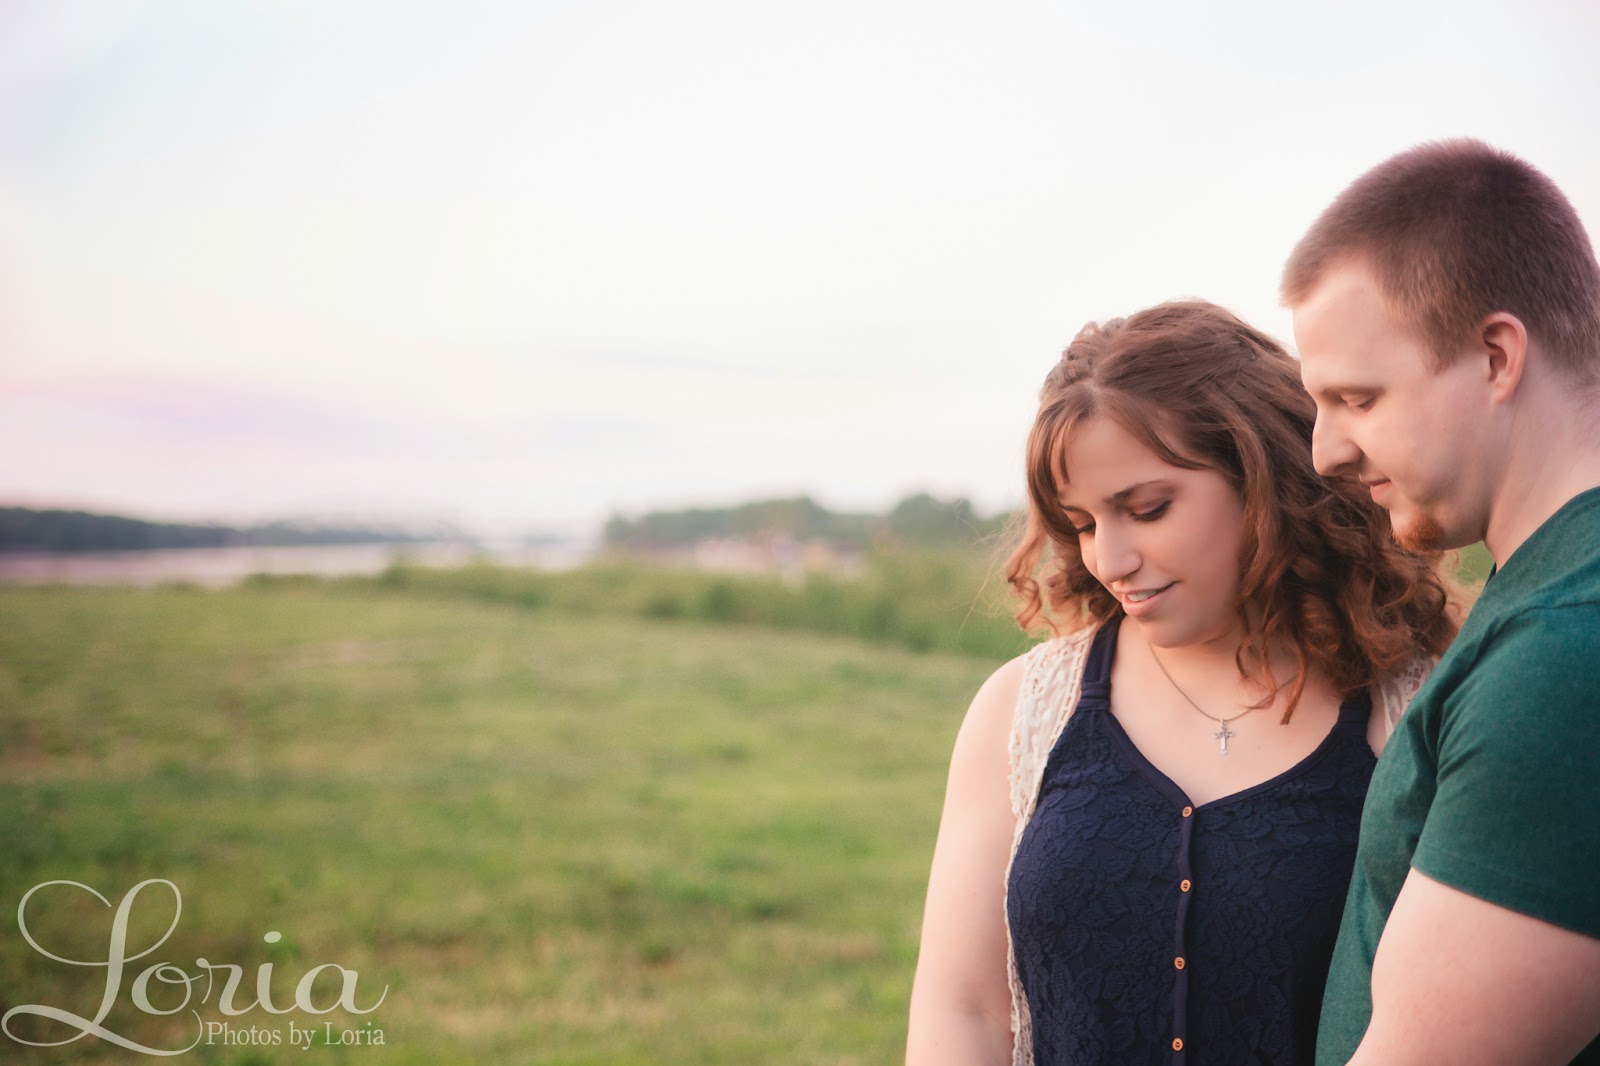
Sarah & Jon :: Engaged!! St Louis Wedding Photographer

Infectious laughter . . . sweet snuggles . . . plain and simple fun.  These are the only ways I know how to describe this engagement session with Sarah and Jon!  I love how genuine these two are.  They told me right from the beginning how much their faith in Christ means to them, and I love that about them!  I really believe it only makes the commitment that much stronger when they officially tie the knot.  That will be happening in September, by the way, and I can not wait!

For their engagement session, we got a little bit of the best of both worlds!  We had soft and sweet at the beginning, when we took a stroll down the Katy Trail.  Then we finished it off with an urban night-life setting at the Delmar Loop.  These two are so versatile and up for anything, that this combo was perfectly them!

So, first, we begin at the Katy Trail and the riverside in St Charles.


I think you can see what I mean about infectious laughter!


How adorable are these two?!


While we were shooting, the Lewis and Clark festival was wrapping up.  White tents were everywhere, and most of them were closed down.  A few people could still be found sitting around campfires in period clothing, playing music and singing.  So of course they danced along!  :)


I loved heading to the Delmar Loop afterwards!  This was the time to get some cool, dramatic shots!  And Sarah and Jon rocked it!


At the very end of the session, we were shooting near the street.  A man came up to us and said, "That's my car you're standing next to."  I immediately apologized and asked if he needed us to move!  He instead offered to put the top down so we could take pictures in it!  It was awesome, and it was the perfect way to end such a fun night!


Congratulations, Sarah and Jon!  I had a really great time working with the two of you, and I am so looking forward to your wedding day!  It's going to be even better!  :)

Tuesday, April 29, 2014

The Boles Family . . . and Family :)

Dawn booked this session with me many months in advance!  She told me no one has ever been as excited for a session as she was for this one!  And you know what?  That made me even more excited to shoot it!  I just loved getting to hang out with Dawn and her family and meet her little kiddos!  They were the kindest, fun-lovingest group of people, and I felt so comfortable just hanging out with all of them!

You all truly made me so happy to be taking these photos for you!  There are so, so many more that I can not wait for you to see!  I had too many favorites!

But we'll start with Justin, since this all started because of his birthday!  :)


What a handsome little stud!  And his little sister, Hannah, who's not much older than my own baby girl, is absolutely adorable!


This little girl just lit up every time Papa picked her up!


A momma never looks so gorgeous as when she's holding one of her babies!


Oh, yes, and the official 4-year-old photos were a must-have!


Dawn, you have a beautiful little family . . . 


. . . and big family!


Haha, siblings!


Finally, I loved these shots of Justin with his Grandma!  So. much. love.


Thank you so much to all of you for inviting me along to document this day!  I thoroughly enjoyed every moment, and I really can not wait to share the rest of the photos with you!!

Friday, April 25, 2014

Welcome to the World, Anthony Nash!

As I was telling Mary at this session, I still remember so clearly . . . . It was her sister Valari's wedding, which I was photographing.  Mary was pretty far along with her daughter, Sophia, in her belly, and it feels like yesterday!  Yet here we are!  Sophia turned 2 in January, and her little brother, Anthony, just made his debut!  How does time fly so quickly?!

Regardless of the fact that time is getting away from me, I was so happy to meet and snuggle this little guy!  He is such a beautiful little baby boy!  But don't take my word for it; take a look!  :)


Sophia tried her best to not be in any pictures with her little brother, haha!  But we tricked her and got quite a few!  This was one of my favorites of all three.


At the end, we snuck in some sweet snuggles with just Mary and Anthony, and they were my favorites of the entire session!  Mary, you are totally glowing!  Congratulations on your perfect little boy!


Friday, March 21, 2014

Personal: My Clever Coffee Dripper!

If you've known me for very long, you know that I love coffee. I've accumulated quite a variety of coffee-making instruments around my house, and I love each of them in a different way.

Today, I write about my newest little gadget, which I think may just be the best one:  my Clever Coffee Dripper! 


I love this thing! My typical coffee maker makes even nice coffee taste a little bitter. With the Clever, it seems any coffee comes out tasting good, just so long as it's fresh! It is never bitter, and it's so full of flavor! And, the best part is that it cost me less than 20 bucks.

So what is it? How do you use it? Well, I'm going to show you!
Disclaimer:  I do have barista experience, but I'm not a coffee "expert", just someone sharing an awesome new discovery!

The Clever is really pretty simple. Like any coffee dripper, you pour the water over the coffee yourself. With the Clever, you wait to release the resulting brew until you're ready. A few fine nuances can make all the difference. Here's how I've learned to use mine.

Step 1 - Boil some water. I think this is one of the main ways my old coffee maker failed me. The water did not get hot enough. I bring the water to boiling then take it off the stove. Just a few degrees below boiling is just what the doctor ordered.


Step 2 - While the water is coming to a boil, I place my filter (a number 4 cone) in the Clever. I actually fold the filter seams, too, in order to fit the filter into the dripper more perfectly.


 Step 3 - Pour a little water into the Clever and gently roll it around to wet the filter entirely. This will cause it to stick to the sides more securely. 


When all parts of the filter are wet, place the Clever ontop of a mug to dispense the water. This is what makes this machine "clever!" It holds everything in until you place it on a mug, giving you precise control over steep time.

Step 4 - Place your coffee grounds. A medium to medium-coarse grind is ideal. I use 4 tablespoons of grounds (1/4 of a cup) and approximately 1 3/4 cups of water (when the time for the water comes). I like a strong cup of coffee, though. The packaging recommends about half that amount of coffee grounds. You'll want to play with the proportions until you find the right fit for you.  

Step 5 - After you place the grounds in the Clever, set your timer. 3 minutes and 15 seconds up to 4 minutes has worked wonderfully for me. Right when the timer starts, pour just a little bit of the water in with the grounds. You want only enough to wet all of them. I even recommend using the handle of a spoon to stir the grounds just enough to distribute the water evenly.
Full disclosure:  I skipped stirring for this particular cup of coffee, and it turned out a tad bitter. Don't drink bitter coffee. Stir your grounds.  :)


Step 6 - Go ahead and pour the rest of your water in with the grounds! You'll want to do this in a circular motion, making sure the water touches all of the grounds evenly.

Just look at that beautiful texture! If only you could smell it!


I think we need to get closer . . . .


Once you're done ogling the beautiful brew process, go ahead and place the lid on the Clever to let the coffee steep until your timer rings.


Step 7 - Dispense your coffee! As with the hot water, you simply place it on top of a mug and let gravity do the work! My favorite is my pretty blue Boeing mug, but Boeing wouldn't pay me to show it in this post, so I used a beer stein instead. ;)


As the brewed coffee drains, you'll see how all of the grounds have stuck to the sides of the filter. This comes from pouring the water in evenly, and it makes for one full-flavored cup of coffee.


I add my favorite little touches to finish off the cup! I love how you can buy half and half that comes with natural flavor and sugar already added. Yummy, yummy!


There you have it! It's all very quick and simple to do. As with almost everything I buy, I researched reviews before making a decision. A few purists complained that this dripper is made of plastic. There were ceramic, porcelain, and glass options as well, but this one had a nice little price tag! Also, it seemed to be the easiest to use, and no one actually said they could taste the plastic. It was just the idea of the plastic that bothered some. I am happy to report that it is BPA free, and I certainly don't notice a plastic flavor to my coffee - just deliciousness!

This may have been one of my most random posts, and there may never be another post about coffee. But now you know a little more about me and just maybe a little more about making awesome coffee! :)  So thanks for reading!

Next time I'll write about weddings or photography or something. ;)

Talk to you soon!

Wedding Wire Couples' Choice Awards Winner!

Weddings, Wedding Venues
Photos by Loria, Best Wedding Photographers in St. Louis - 2014 Couples' Choice Award Winner